gallery

How To Install And Use Lightroom Mobile Presets

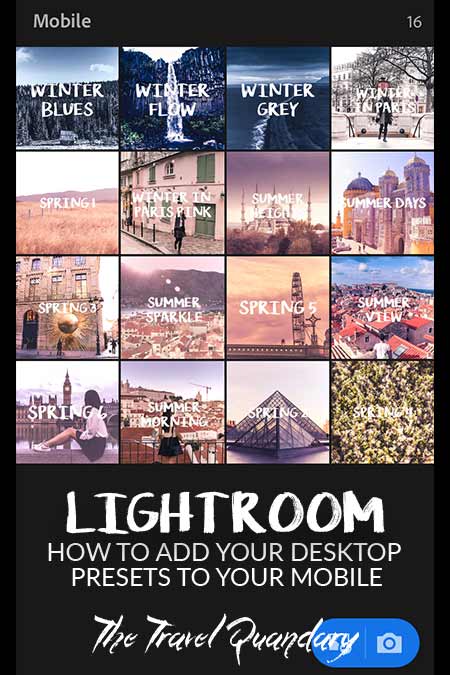
Millennials are constantly on the go with their smartphone always in their hands. Photos are posted up to social media at lightning speed. But for the more serious photographers, you’ll know that a bit of post-production will make your images look all that little bit better. Instead of pulling out your laptop to access your custom presets, we’ve now discovered a way to apply your Lightroom presets via the Lightroom Mobile app. Follow the steps below and you’ll be maximising your creative feels on mobile to Instagram in a flash.

A step-by-step guide to setting up lightroom presents on your mobile

Please note: These are step-by-step instructions specific for syncing presets to an iPhone as this is the type of smartphone we use. The following steps may vary for Android users.

Step #1 - Open Lightroom On Your Desktop

To keep things simple and organised, create a new catalog to save the presets you wish to import to your iPhone.

Step #2 - Create A Collection

On the left-hand side menu under Collections, click the ‘+’ button. A new menu box will open. Select ‘Create Collection’ and give it a name. Choose a name that will resonate with you when accessing this collection later on your phone (i.e. Mobile Presets). Click ‘Create’.

TIP: To make life easier and your mobile editing process faster, create an unedited thumbnail image and overlay the name of your preset in typeface over each selected image. Typeface can be applied in Photoshop. The preset you decide to apply on your images will then be easily identifiable by typeface in your Mobile Presets Collection on your iPhone.

Step #3 - Import Thumbnail Images To Your Collection

If you’ve created the unedited thumbnail images with added typeface mentioned above, find those images and import them into your collection. If you haven’t added any typeface, you can still choose any unedited image to import to the collection.

Go to ‘File’ and then select ‘Import’. Find the images on your computer that you wish to add to your new collection. Then click ‘Import’.

Step #4 - Apply Your Presets To Your Thumbnail Images

Go to the ‘Develop’ tab (in between Library and Map towards the top right hand corner). Apply each of your presets to your selected thumbnail images. This will ensure that the settings of your presets are stored on your images and carried over to your iPhone.

Step #5 - Sync With Lightroom Mobile

The final step is to sync your presets to your iPhone. In the left-hand side menu, right click on your new Collection. Select ‘Sync with Lightroom Mobile’. Once you click this, your presets will begin syncing with your iPhone.

Installation complete!

On Your iPhone

Congratulations! Your new presets should now have synced to your iPhone. If it has successfully synced, your new presets should look something like this:

If you see them in Lightroom Mobile, then you’re all done and you’re ready to start applying them to images on your mobile.

To apply one of your presets to a new image:

  1. Open the preset thumbnail within the Lightroom Mobile app.
  1. On the preset thumbnail, go to the top right corner, open the menu and select ‘Copy Settings’.
  1. Navigate to the image you want to edit. In the top right corner, open the menu and select ‘Paste Settings’.

Troubleshooting

Sync issues...

If you do not see the ‘Sync with Lightroom Mobile’ option, click on the dropdown arrow next to your name at the top navigation bar. Ensure that the ‘Sync with Lightroom Mobile’ option is not paused.

TIP: Ensure that you’re logged in with the same account on desktop and mobile otherwise you will not be able to sync the presets to your iPhone.

Edit like a boss!

And voila! All done! You now have your presets saved to your mobile and have a way to quickly edit and enhance your images. You’re ready to post straight to Instagram.

We hope these instructions were useful and helpful. If you’d like to join our community, make sure to hashtag your photos with #MyTravelQuandary.

Did you manage to follow these step-by-step instructions successfully? Share your experience with us in the comments below and get in touch with any other helpful advice.

LIKE THIS POST? PIN IT AND SHARE IT!

Shop this post

Share

*** Affiliate links disclaimer ***

Lorem ipsum dolor sit amet, consectetur adipiscing elit. Ut elit tellus, luctus nec ullamcorper mattis, pulvinar dapibus leo.